Saturday 10 December 2011

Countdown to christmas-DIY candy cane nail tutorial

Your house doesn't have to be the only thing decorated for christmas...Try adding a little festiveness(dunno if its a word but I think it fits) to your nails! of course you could just paint them the typical red, green, white etc.. or you can really get the party bumping with some candy cane swirls to accent those digits (fun fact: finger bones are called digits)

Anyone who isn't familiar with water marbling your nails please go to youtube, search water marble nail art and be amazed!!!! mysimplelittlepleasures.blogspot.com, she also has a youtube channel, she is amazing!! and from what I can see is a true pro. I cannot take credit for this. Iam in no way a professional at this I just stumbled across this technique and I haven't stopped since! As a person who hates painting their nails this technique is so fun and amazing!! I could have honestly jumped over the moon and fly across the globe I was so ecstatic when I did this. I even made my boyfriend watch and be amazed. 

here is my take on candy cane swirl nail tutorial.

Heres what you'll need:
A plastic cup: I got creative and cleaned out an old sour cream container.
Filtered room temperature water: It's half way filled in the cup
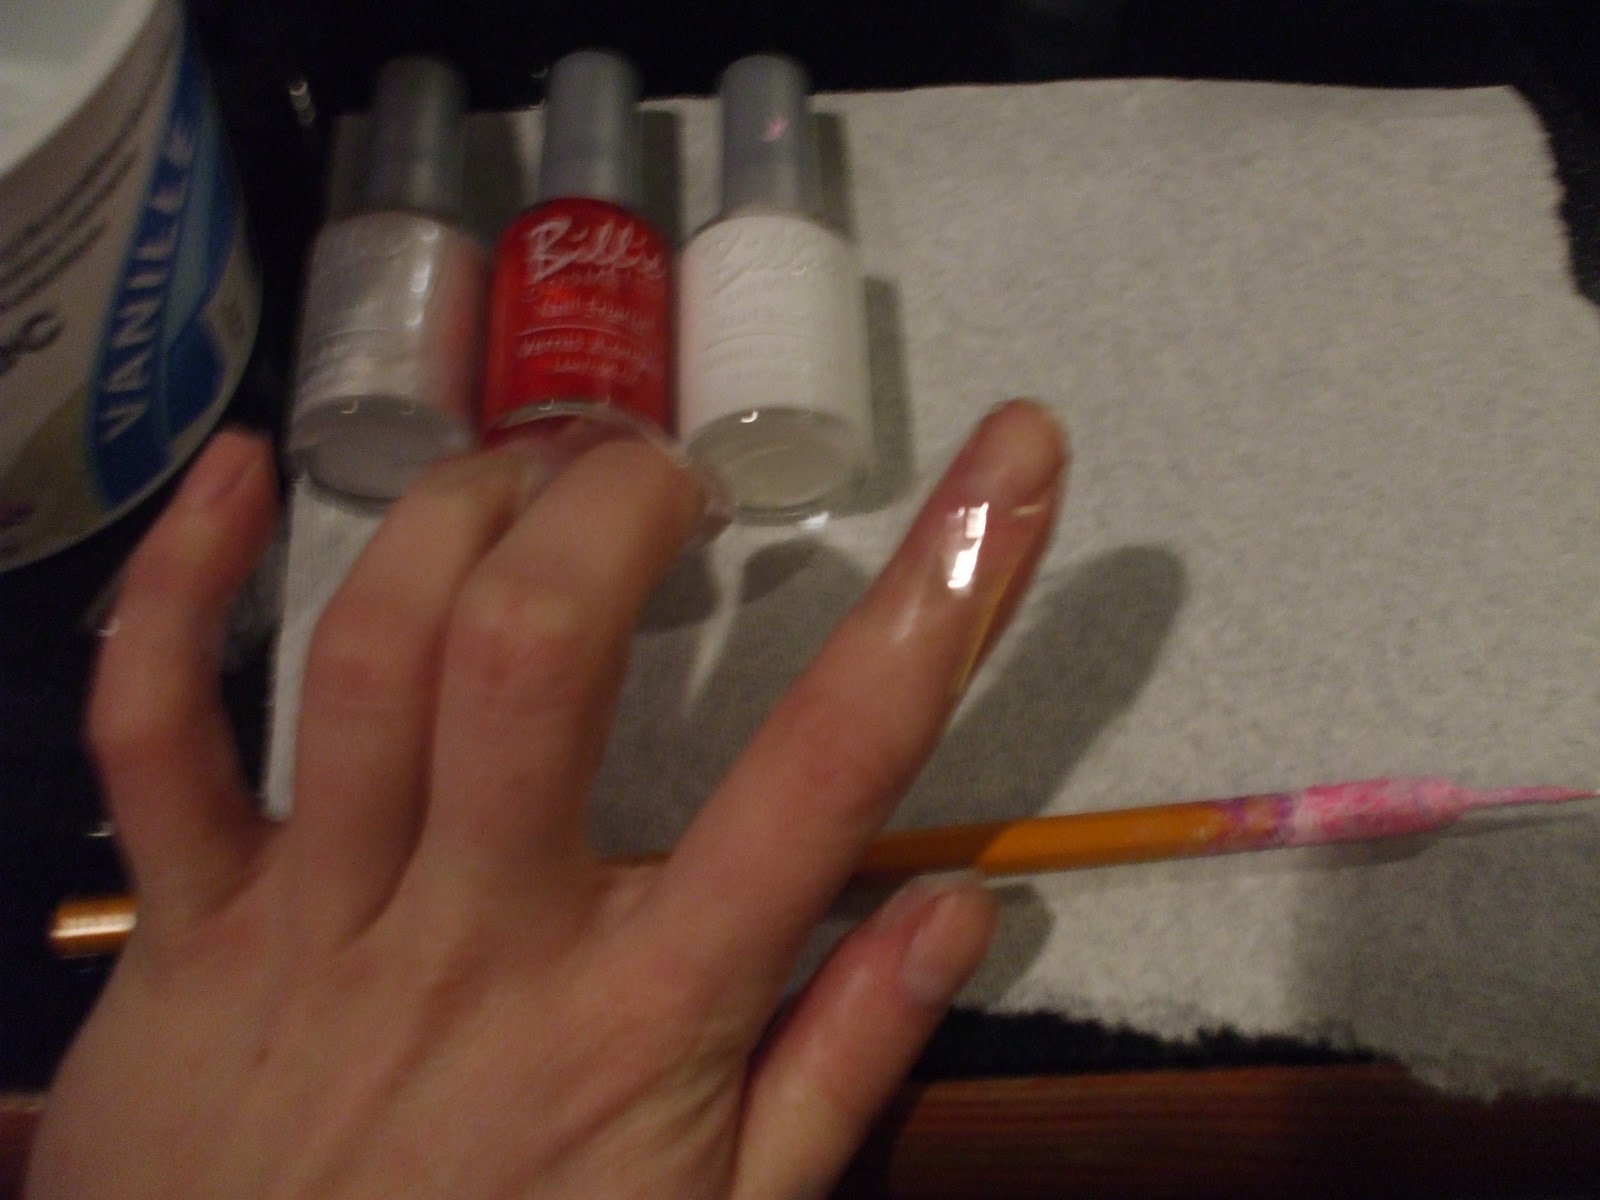
Polish colours of your choice: Since its a candy cane theme I'm going with a red, a silver and a white. all three of these nail polishes are from the dollar store but try using what you have on hand.
sharp stick to create designs: I just stuck a needle in the end of a pencil eraser, works great.
Tape: any tape will work I just use regular clear tape.
Paper towels: you know just to keep things clean :)


My camera couldn't really pick this up to well but first you want to tape off all four sides around your nails, so that only your nail will be polished not your whole finger. you can do this as you go but I recommend having all nails prepared just to have it go by more smoothly and efficiently. 


Now this is the amazing part!!!!! I didn't even know you could do this with nail polish, but all you do is take your colour and place a dot amount onto the top of the water, it will disperse outwards, taking your second colour continue this process over and over until u get a bullseye type design.

Using your pointed stick, create a swirl design by running your stick gently through the bullseye.

Place your nail in the water where you want your design to be on the nail. for most nail marbling they do one finger at a time, I decided to get crafty and try four at once. once your nail is submerged in the water take your stick and gather the excess floating polish so that it doesn't ruin your nails. remove your finger and dry.

When you take your nails out of the water they will look like this...AMAZING! right?? ...remove the tape around your nails and apply a good clear top coat of polish.


Obviously this is more of a process then just painting your nails but the results are so amazing and the process alone is fun! experiment with different colours and designs. It may be tricky the first couple of try's but keep practising ! I got so many complements on my nails and everyone was so curious as to how I did it...even my boyfriend was impressed ;)

For more designs, or a more professional take on this technique please check out
mysimplelittlepleasures.blogspot.com


xoxox 
happy painting
Relish

Countdown to christmas-DIY's

Yayy Christmas is coming!!! 
Relish's Countdown to christmas...
you know what that means?? lots of baking, wrapping, shopping, wrapping, baking, decorating which to me is the whole fun of christmas. I love giving gifts which is essentially what this holiday is all about right??  but these gifts don't have to be big, expensive and extravagant for people to appreciate them. I love taking this opportunity to give gifts from the heart that are made with my two hands and a whole lotta love!!! Keep in touch with me as I share with you my favourite homemade gifts to give and christmas goodies and festivities.

Since this is December I thought all month ill blog about all things christmas!! and what I love about this time of year...

One of the first things I'll be sharing with you today is my all time favourite sugar cookie recipe. Christmas to me is all about baking treats and handing them out to loved ones, mainly because thats what I remember doing with my grandma as a child. not to mention its much more wallet/budget friendly. My grandma has long since passed now, but I have with me her book of recipes which I take great pride and special care of to ensure her treats and love live on always. Of course I have also taken the liberty of spicing some of them up along the way, adding my own twists and special touches, and I encourage you to do the same :D


Heres what you'll need:


For the cookies


1 1/2 Cup Unsalted softened butter, just leave the butter out till it reaches room temp.
2 Cups white sugar
4 Eggs
1 tsp Vanilla
5 Cups All purpose flour
1 tsp salt
2 tsp baking powder


For the Icing

1/2 Cup unsalted butter
1 1/2 tsp Vanilla
2 Cups icing sugar
2 tbsp Milk
Food colouring of your choice


Cookies


1.) Pre-heat oven to 400 F. In a large mixing bowl cream together butter and sugar until smooth. 
2.) Beat in eggs and vanilla.
3.) Gradually stir in flour, baking soda, and salt.
4.) Cover dough and chill for 1 hr in fridge. 
5.) Roll out dough 1/4-1/2 and inch thick, cut into shapes and place on an ungreased baking sheet 1 inch apart.
6.) Bake 6-8 minutes until slightly golden brown on edges, cool completely.


Special note: try getting creative and adding a little something to the dough before it bakes, with the green cookies below I added little Scor chocolate pieces to the mix, you can also try adding toffee pieces.

Icing...these cookies are delicious on their own but if you want to spice them up a bit..
In a saucepan melt butter, combine icing sugar until incorporated, add vanilla and milk, stir until well incorporated and creamy consistency. add food colouring of your choice.


While icing is still warm cover cookies and sprinkle with goodies of your choice. 


My first christmas cookies of the year....


These cookies are so good!!! Not exactly calorie friendly but its christmas, this is the time of year where I indulge in all the festivities. and they don't have to be just for christmas, get creative and use different shapes and colours to make cookies all year round. Have fun and get your bake on!! who doesn't love getting cookies for christmas!! Just place these tasty tots in a festive christmas tin (dollar store) and your good to go!


please keep in touch for more of my favourite christmas recipes to come..


Peanut brittle
Almond roca
Short bread cookies
Buttercrunch toffee


What are some of your holiday favourite treats??


xoxoxox
Relish